


- Dasduino (Arduino-compatible)

- Inkplate

- easyC ecosystem

- Raspberry Pi & Micro:bit

- Breadboards & Cables

- Batteries & Power supplies

- Kids

- Sensors

- Actuators

- Communication

- Tools & Lab equipment

- Soldering kits

- Components

- Sale

easyC ecosystem
Here you can find all cables, adapters and electronic devices that use the easyC connection system for connection and communication.
Showing 49–72 of 75 resultsSorted by average rating

Simple rain sensor board with easyC
This sensor has two pieces – the rain sensor and the simple sensor. The rain sensor has nickel-coated lines on both sides. It measures moisture and outputs the data to the simple sensor that reads it. The simple sensor comes with easyC connectors onboard, which enables quick and easy connection with Dasduino microcontroller boards.
With the easy-to-use simple rain sensor, farmers can save water in irrigation. The sensor will alert them to shut down the water supply when it senses rain. It can even act as an automatic on and off switch, like turning on wipers on a car when it senses rain.

Simple light sensor board with easyC
Light is one of the most important things in the life of most living beings. This is why it is common to work with light sensors when learning about electronics. A simple light sensor has a light dependent resistor (LDR) and sensor on a breakout board for easy wiring. The simple sensor comes with easyC connectors onboard, which enables quick and easy connection with Dasduino microcontroller boards.
As the name suggests, an LDR will change its resistance depending on the amount of light it is exposed to. The amount of light and resistance are inversely proportional. The more light it is exposed to, the less resistance it will have. So if there is more light, the board will have a resistance of several hundred Ohms. If the resistor is in the dark, it will have a resistance of several thousand Ohms.

Digital light & proximity sensor LTR-507 breakout
For very precise measurements of the amount of light, take this digital light sensor into account (ALS – Ambient Light Sensor). In addition, the LTR-507ALS also measures the proximity (PS – Proximity Sensor) of the object to the sensor. It sends all this data via I2C communication, which is easy to read via our Arduino library.
Coming soon
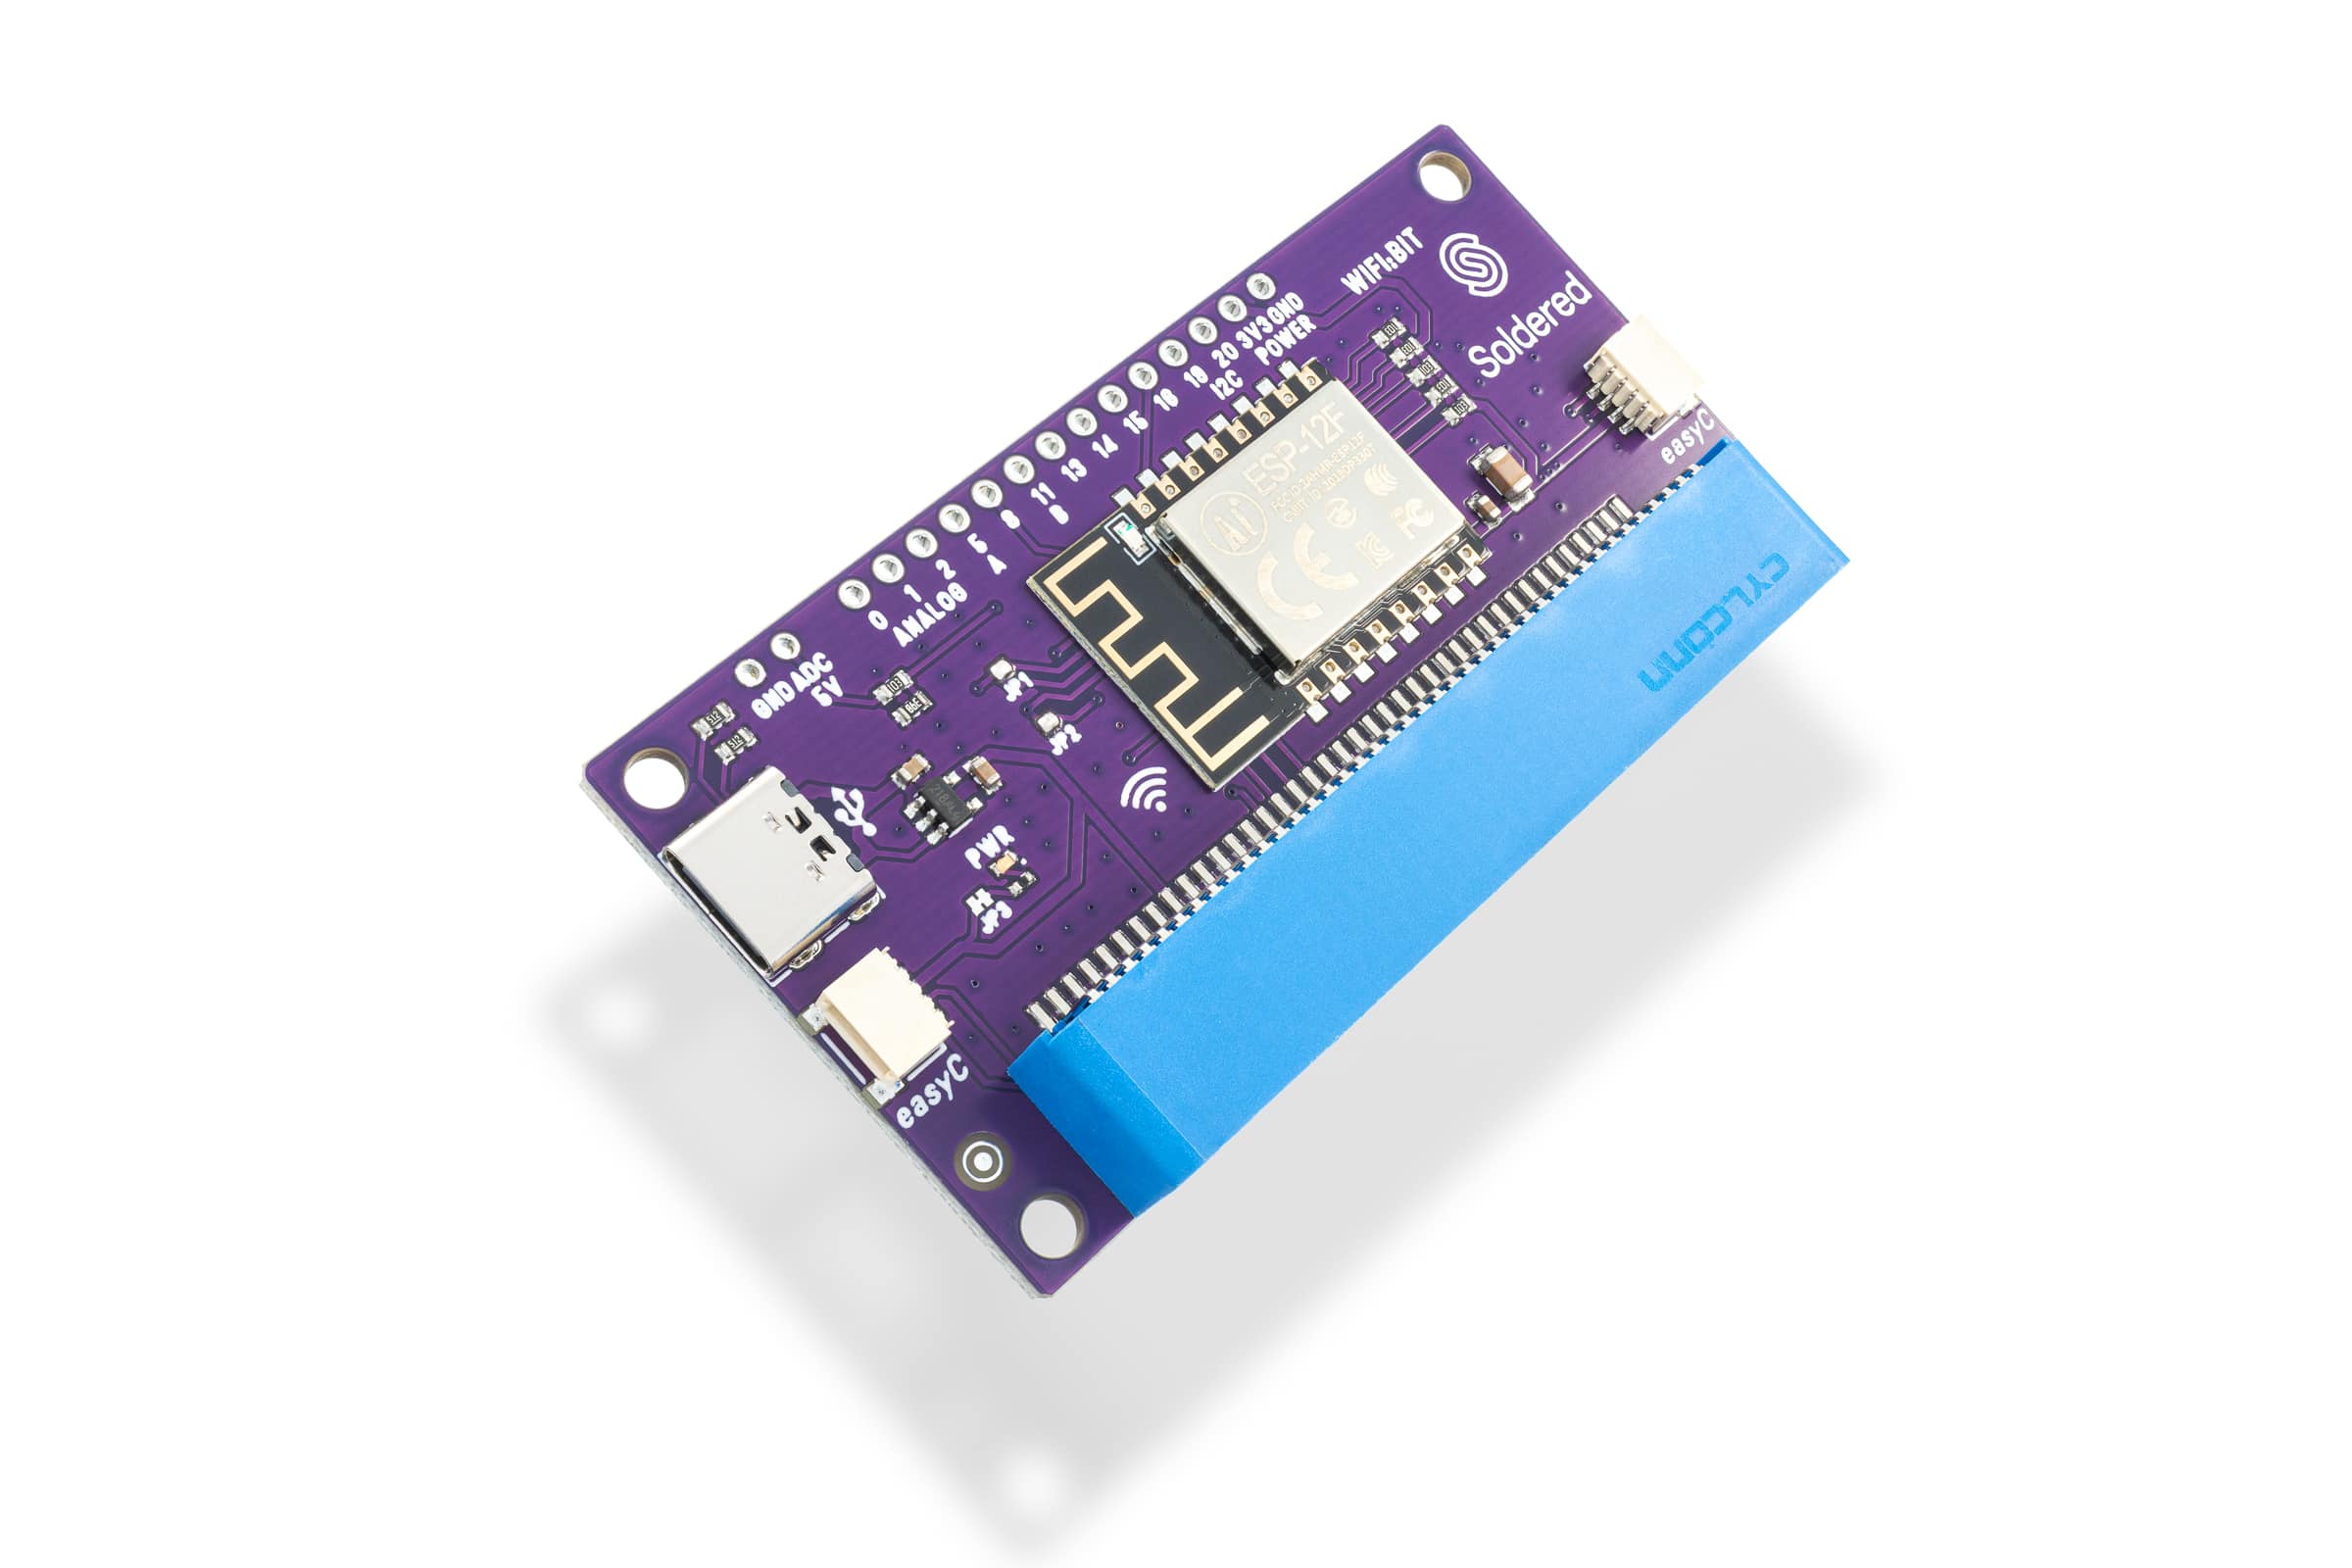
WiFi:bit
Micro:bit is a very interesting board with lots of options that are used by many children in school or hobbyists, but who can say no to new features! So we decided to make a micro:bit add-on that will enable internet connection via WiFi! Finally, you’ll be able to connect your micro:bit projects to the Internet and to connect to the well known Internet of Things. WiFi:bit add-on is easy to use through a MakeBlock add-on or using completed Python examples.
Just insert micro:bit to the add-on, plug in the power cable (required) and you are ready! Open the examples and start sending and receiving data from the internet. There are even two easyC connectors on the WiFi add-on, which allow the simplest connection of I2C sensors and actuators with micro:bit. There are also available pins on the board which are isolated on standard spacing used for breadboard connections or connections with cables to additional components!

Pressure & temperature sensor BMP180 breakout
Ever wanted to build your own weather station using Arduino? Then the BMP180 breakout board with precision sensor from Bosch might interest you. The digital sensor on the board precisely measures the changes in barometric pressure and temperature. It uses the piezoresistive effect to gather the information. Since the pressure varies depending on height, the sensor can measure altitude too. Very low current consumption and voltage allow this type of sensor to be used in many modern devices.
The design is 5V ready with an onboard regulator for 3.3V. The breakout board’s standard current consumption is very low, only 5 µA. It uses an I2C interface, and the I2C address is 0x77. No soldering, nor need for distinguishing between SDA and SCL is required due to easyC. The sensor has integrated EEPROM memory with data for calibration. The pressure is measured in steps of 1hPa (=0.01hPa =0,01mbar), and 0.1°C for temperature.
Product usage tips:
If there is an error while using the breakout board, see if it’s connected properly. Take a look at the pinout. If everything is properly connected, check if the I2C address of the breakout board is correct prior to programming it. The I2C 7-bit address should be 0x77. If everything is correctly connected and the I2C address is right, look through your code once again. There might be some bugs in the code that are stopping the sensor from working as it should.
BMP180 breakout board works very well in combination with any Dasduino board and OLED I2C 0.96” display breakout board. All of them use easyC so they can be connected in a matter of seconds. The BMP180 sensor can measure the barometric pressure and temperature, while the OLED display can show them. The breakout board also comes with two mounting holes so you can attach it onto something and it won’t budge.
To keep the sensor working for a long while, we would advise you not to use it in extreme conditions. Going over or below the temperature range will surely damage the sensor. Same with the pressure. Keep track of the current going through it. Allowing too high of a current through the breakout board will burn the sensor and render it completely useless.
Coming soon

Display OLED I2C 0.96" SSD1306
Looking to add visuals to your Arduino projects? The I2C OLED breakout board is perfect for that. Because of its high contrast, you will be in awe of its crispness! The display is made from hundreds of LEDs, each representing one pixel in a 128×64 grid. Thus, it doesn’t need any backlight, and it needs less power than the classic LCD screens. That’s 8192 pixels all individually lit at your fingertips!
The design is 5V ready with an onboard regulator, so is compatible with any 3.3V board. The breakout board uses only about 20 mA, depending on active pixels. It is easy to control over the I2C interface. It is even easier to connect with the easyC system – no soldering required!
Display OLED I2C 0.96″ SSD1306 options:
The color of the OLED screen on the product can be:
– White
– Blue

DAC 6-bit 1-channel MCP47A1 breakout
This device uses MCP47A1 which is a single channel, 6-bit digital to analog converter with I2C compatible serial interface. There’s no integrated EEPROM memory which would allow DAC register and configuration bit values to be saved at powered off.

Real time clock RTC PCF85063A breakout
RTC (Real Time Clock) is a device that carefully and precisely tracks time and dates. It is extremely precise, so it is more suitable for long-term time tracking than clocks on microcontrollers. This breakout can work with an extremely low current and thanks to the alarm feature and interrupt pin, it will allow a microcontroller to enter sleep mode until its awaken by this RTC.
It has a built-in battery holder (battery not included) and even if power is lost, real-time tracking won’t be affected.

easyC Hub
We made the easyC system for faster prototyping and easy connection between the components. However, some of the components have only one easyC port or you just want your cable managmenet made better. What to do in those cases? The easyC hub comes to the rescue! It has six connectors so you can easily expand your circuit. It’s as simple of a device as it can get.
Product usage tips:
You can connect easyC devices to the hub like you would to any other easyC device. Just plug the preferred easyC cable into the hub and a device you’re working with. That’s all there is to it.
You should avoid working with the hub in wet environments to ensure it lasts a long time. Be sure to watch the operating voltage of your circuit. Since the hub works on 3.3V, higher voltages can burn it and render it useless. There is a hole in the middle of the board so it can be secured to any surface.

I2C multiplexer TCA9548A breakout
Ever needed to connect two peripherals with the same I2C address to the same microcontroller? This module allows you to seamlessly connect up to eight I2C devices with identical addresses.. Using the TCA9548A IC, our breakout board provides flexibility, enabling control of up to 64 devices on the same I2C bus. This means you can integrate numerous sensors, such as 64 BME680s (because why not?), all managed by just one microcontroller, simplifying complex setups and expanding your possibilities.
Beyond its core capabilities, the TCA9548A breakout is engineered for compatibility and ease of use, especially within the Qwiic ecosystem. This adapter is convenient for makers and engineers looking for rapid prototyping solutions without the intricate wiring. Its broad voltage compatibility (1.65V – 5.5V) ensures integration with a wide range of microcontrollers, including Arduino and NULA boards, making it an addition to any electronics workbench. With its compact dimensions and clear pinout, integrating this multiplexer into your existing or new projects is easy and efficient.
This I2C multiplexer is designed and manufactured in the EU, guaranteeing great performance and durability. We offer documentation, quick start guides and dedicated technical support to ensure your success, including our open-source community. Choose our TCA9548A breakout for a high-performance solution that empowers your innovative projects with I2C communication capabilities.

Simple soil humidity sensor board with easyC
How many times have you watered your plants and feared you overdid it? With a simple soil moisture sensor, these worries are a thing of the past! This two-part sensor is easy to use. Two exposed prongs go into the soil and send moisture information to the sensor via a connected wire. The more water there is in the ground, the better the results will be.
The two parts are connected with the included JST-SH 2-pin cable. The simple sensor has easyC connectors on it, which enables quick and easy connection with Dasduino microcontroller boards.
Coming soon

Enviromental sensor BME280 breakout
BME280 is an atmospheric sensor which measures 3 values: temperature, pressure, and humidity. Additionally, it is possible to calculate elevation. It is simple to use since it communicates via I2C and it is extra small sized so it can be put anywhere. Everything you need to know about the atmospheric condition – this sensor can measure for you; just ideal for meteorological station projects! This board comes with two easyC connectors, providing easy connections.
Coming soon

Enviromental & air quality sensor BME680 breakout
The BME680 is an atmospheric sensor that measures four values: temperature, pressure, humidity and air quality as an IAQ index. Using that data can calculate elevation. It is really simple to use considering that it’s using I2C communication protocol and its dimensions are really small so it can fit anywhere. Everything you need to know about the atmospheric conditions and the quality of the air – you can find out using this sensor (ideal for weather station projects!) This board comes with two easyC connectors, providing easy connection to other products.

Temperature and humidity sensor SHTC3 breakout
Want to keep track of both the humidity and temperature in your room? Or maybe in the greenhouse to protect your crops? The SHTC3 breakout board is the solution you’re looking for! The digital sensor measures the changes in humidity and temperature very precisely. Since it’s very accurate and the temperature range is wide, it is a go-to sensor if you want precise climate information.
The breakout board uses the I2C communication protocol. Thus, it has two easyC ports so no soldering, nor distinguishing between SDA and SCL is required. The hardware-defined I2C address is 0x70. The design is 3.3V ready with an onboard regulator for 5V. The board’s standard current consumption is low, only 430 µA.
Product usage tips:
If you encounter errors when using the breakout board, see if it’s connected properly. First, look at the pinout on the board and your microcontroller. If everything seems OK, look at the connections on the breakout board. If all the wiring is correct, make sure that the breakout board’s I2C address is right. It should be 0x70. Everything as it should be so far? Go through your code again. There might be some bugs that are stopping things from working as expected.
The SHTC3 breakout board works wonderfully in combination with Dasduino Core and 16×2 easyC LCD. You can display temperature in one row and humidity in the other. Due to the easyC connections on all three, hooking all the devices together is as easy as it gets. The SHTC3 breakout board has two mounting holes so it can be attached to the project and won’t budge. The pins provided can be soldered if you don’t want to use the easyC ports.
To keep the longevity of the sensor, keep track of the current going through the circuit. Allowing an excessive amount of current to flow through it may cause the sensor to fail. It is not impact-resistant. When dropped from a high distance or at an odd angle, it can break beyond repair.
Coming soon

2-channel relay board with easyC
Did you ever wanted to turn on and off a device that needs large current or voltage? Whether operating on DC or AC, a relay is what you need. A relay is actually an electronic switch that is activated by a signal we send from a Dasduino or Arduino. This module further simplifies the whole process because it contains everything you need for the relay to work, and you just have to connect it to the microcontroller and power supply. You don’t have to think about voltages and currents, insulation between high and low voltage or grounding, everything is already taken care of on the board.
This board has easyC connector. Thanks to easyC ecosystem, this board can be connected using off-the-shelf cables, without soldering. Controlling the is as simple as it gets, too.

1-channel relay board with easyC
Did you ever wanted to turn on and off a device that needs large current or voltage? Whether operating on DC or AC, a relay is what you need. A relay is actually an electronic switch that is activated by a signal we send from a Dasduino or Arduino. This module further simplifies the whole process because it contains everything you need for the relay to work, and you just have to connect it to the microcontroller and power supply. You don’t have to think about voltages and currents, insulation between high and low voltage or grounding, everything is already taken care of on the board.
This board has easyC connector. Thanks to easyC ecosystem, this board can be connected using off-the-shelf cables, without soldering. Controlling the is as simple as it gets, too.

Raspberry Pi easyC adapter
This adapter makes it easy to connect easyC devices and sensors to the Raspberry Pi. It has 3 pieces of easyC connectors and a female header for Raspberry Pi, next to the header there are pins for connecting 5V and 3.3V and ground pins. It simply connects to the Raspberry Pi because its pinout matches the pinout of the Raspberry Pi.

easyC adapter
Do you have an old I2C board lying around that would be perfect only if it had easyC connectors? With the easyC adapter and a little bit of soldering, you can give it new life. It will be able to connect easily to newer boards with easyC cables.
The adapter has two easyC connection ports and four plated through-holes: SCL, SDA, 3.3V, and GND. It comes with pins that need to be soldered to the board.
Product usage tips:
Connecting easyC devices to the adapter is the same as to any other easyC device. Choose an easyC cable and connect it to the adapter. That’s it.
To ensure the longevity of the adapter, avoid working with it in wet environments. Device operates at the 3.3V voltage level so higher voltages can burn it.

IO expander MCP23017 breakout
Are you short on IO pins? Looking to increase the number of them? That’s what the GPIO Expander MCP23017 is for! It uses I2C communication to do so. With just two wires, 16 new fully configurable digital IO pins are added to a microcontroller.
Due to the jumpers on the board, the I2C address of a device can be changed. Thus, eight breakout boards can be connected to a microcontroller. All of the pins on the expander board have pull-out resistors that can be turned on and off.

Load-cell amplifier HX711 with easyC
The HX711 is a highly versatile load cell amplifier that is widely used in various applications requiring precise weight measurements. This version of the breakout comes with a Qwiic connector and a pre-programmed Attiny404 microcontroller. It is designed to convert analog signals into digital values and have them easily available over Qwiic/Stemma QT/easyC, making it ideal for integration with microcontrollers and other digital systems. An Arduino and MicroPython library to communicate with the board is also provided.
This load cell amplifier employs a 24-bit analog-to-digital converter (ADC) to ensure high-resolution and accurate readings. It supports differential input signals and offers two differential input channels, allowing the connection of up to two load cells simultaneously. This feature enables the measurement of both single- and multi-load cell systems, expanding its application range.
The HX711 incorporates an integrated voltage regulator, which provides a stable supply voltage for the load cells and ensures accurate and reliable measurements this Qwiic version only requires a Qwiic cable for operation – send power and I2C data over one convenient connector! You can use the other connector to continue daisy chaining other Qwiic sensors. It also comes with switches for selecting the I2C address.

Obstacle sensor with easyC
The TCRT5000 is an infrared (IR) reflective sensor module that is commonly used for proximity sensing and line-following applications. It consists of an infrared emitter and a phototransistor placed side by side in a compact package. The emitter emits infrared light, which gets reflected off nearby objects, and the phototransistor detects the intensity of the reflected light.
This sensor module is widely used in robotics and automation projects. It can be used to detect the presence or absence of objects by measuring the intensity of reflected infrared light. It is also commonly employed in line-following robots where it can detect and follow lines marked with contrasting colors.
The TCRT5000 operates on a supply voltage typically ranging from 3.3V to 5V. The breakout board provides digital and analog information through the easyC system. Sensor readings are obtained through easyC.
Product usage tips:
Two mounting holes enable easy mounting to surfaces.

I2C LCD adapter
This adapter makes connection of LCD to Dasduino (or any other Arduino-compatible board) a breeze! It uses I2C communication which needs only two pins. It can be used and work with all of ours LCDs (16×2, 20×4, 16×4). Use our library and get started in few minutes of work!
It’s even easier with easyC – no soldering is needed!

ADC 16-bit ADS1115 4-channel with PGA breakout
The ADS1115 16-Bit ADC delivers analog to digital conversion for precision measurement applications. This high-performance breakout board features Texas Instruments’ industry-standard ADS1115 chip, providing 16-bit resolution at up to 860 samples per second with built-in programmable gain amplifier (PGA) for optimal signal conditioning. Perfect for Arduino, Raspberry Pi, and microcontroller projects requiring accurate analog signal measurement beyond standard 10-bit ADC capabilities.
With its wide 2V-5.5V supply range and I2C interface, the ADS1115 offers versatility for various measurement scenarios. The programmable gain amplifier provides selectable gains from ±6.144V down to ±0.256V full-scale range, enabling precise measurement of both large and small signals. Four single-ended channels can be configured as two differential pairs, while the built-in voltage reference ensures measurement stability. The easyC connector system simplifies integration, eliminating wiring errors and enabling rapid prototyping for sensor networks, data acquisition systems, and precision measurement applications.
Applicable for sensor networks, building data acquisition systems, or upgrading Arduino projects with analog measurement capabilities, the ADS1115 provides the accuracy and reliability. With comprehensive documentation and professional EU manufacturing quality, this ADC module delivers precision in a maker-friendly package. With our extensive Arduino library, you can get started quickly, without soldering, using our Qwiic (easyC) connector.
Coming soon

Ultrasonic sensor with easyC
The HC-SR04 ultrasonic sensor is an affordable and super-popular sensor that measures the distance between itself and an object located in front of the sensor. Very simple to use, it returns the distance in centimeters or inches.
In this variation, it comes on a board with an Attiny microcontroller that sends readings from the sensor as a digital signal via the easyC connector to the microcontroller, which makes its connections a piece of cake.